
Best Ways to Document an Accident Scene
Learn the best way to document an accident scene with photos, witness statements, and police reports. Call us at (833) 227-7919 for legal guidance.

By Lucan Fairchild
The moments immediately following a car accident can feel chaotic and overwhelming. Amid the shock, the glare of headlights, and the sound of crumpled metal, your mind races with questions about injuries, insurance, and what comes next. Yet, what you do in those critical minutes can make or break your ability to recover compensation for damages. The single most important action you can take is to thoroughly document the accident scene. Doing so creates a reliable, objective record that can protect you from false claims, insurance delays, and legal disputes. Without proper documentation, you risk relying on faulty memory or conflicting accounts, which can weaken your case significantly.
Why Documentation Matters After a Crash
An accident scene is a temporary piece of evidence. Within hours, cars are towed, debris is cleared, and skid marks fade. Insurance adjusters and attorneys rely on what you capture in those first moments to determine fault and calculate damages. When you document thoroughly, you create a factual foundation that can be referenced weeks or months later. This is especially important if the other driver disputes liability or if injuries take time to manifest. In our guide on How to Document Accident Injuries Properly, we explain how medical documentation works hand in hand with scene documentation to build a complete picture of your claim.
Step 1: Prioritize Safety Before Gathering Evidence
Before you pull out your phone to take photos, you must ensure everyone is safe. Check yourself and your passengers for injuries. If anyone is hurt, call 911 immediately. Turn on your hazard lights and, if possible, move your vehicle to the side of the road to avoid blocking traffic and causing another collision. Do not leave the scene, but do not stand in the middle of the road taking pictures either. Once you are in a safe location, you can begin the documentation process.
If you are physically unable to document the scene yourself, ask a witness or a responding officer to take notes or photos on your behalf. Your safety and health are always the top priority. After the scene is secure, you can move to the next step of capturing evidence.
Step 2: Capture Comprehensive Photos and Videos
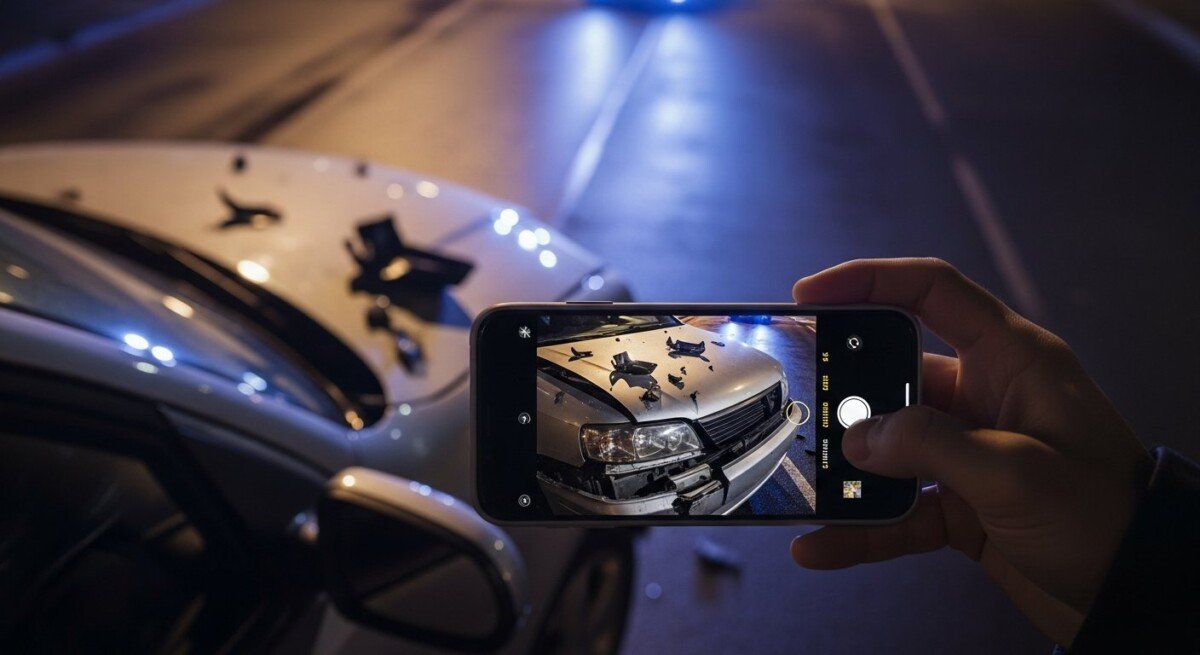
Visual evidence is the most powerful tool you have. A single photograph can convey context that a thousand words cannot. You should take photos and videos from multiple angles, distances, and perspectives. The goal is to create a complete visual record that someone who was not at the scene can use to understand exactly what happened. Here is what you should capture:
- Overall scene shots: Take wide-angle photos of the entire accident location, including traffic signs, lane markings, and nearby intersections. These images help establish the layout of the road and weather conditions.
- Vehicle damage: Photograph all vehicles involved from every angle. Include close-ups of dents, scratches, broken glass, and deployed airbags. Do not forget to capture the license plates of all vehicles.
- Road conditions: Document any skid marks, debris, potholes, or obstructions that may have contributed to the crash. If it is raining, snowy, or foggy, take a photo that shows the visibility and road surface.
- Injuries: If you or your passengers have visible injuries such as cuts, bruises, or swelling, photograph them immediately. These images can be critical for linking the accident to your physical harm.
Video is also highly effective. A slow pan of the entire scene, with a verbal narration of what you see, can provide context that still photos miss. For example, you might say, “The other driver’s car is facing east in the westbound lane, and there is a stop sign 20 feet behind my vehicle.” This kind of real-time commentary adds depth to your documentation.
Step 3: Gather Witness Information and Statements
Witnesses can be your strongest allies. They have no stake in the outcome and can provide an unbiased account of what they saw. Approach any bystanders or drivers who stopped to help and ask if they would be willing to share their contact information. Collect their full name, phone number, and email address. If they are willing, ask them to briefly describe what they witnessed, and record their statement on your phone’s voice memo app or write it down verbatim.
Do not pressure witnesses to take sides or speculate about fault. Simply ask them to share what they observed. A neutral statement carries more weight with insurance adjusters and in court. Additionally, if the responding police officer takes statements from witnesses, ask for the officer’s name and badge number so you can obtain a copy of the police report later. For more insight into how these reports can contain errors that affect your claim, see our article on Accident Report Errors.
Step 4: Exchange Information With the Other Driver
You are legally required to exchange information with the other driver involved in the accident. This step is straightforward but essential. You should obtain the following details from the other driver:
- Full name and contact information
- Driver’s license number and state of issuance
- Insurance company name and policy number
- Vehicle make, model, color, and license plate number
Do not discuss fault or apologize at the scene. Even a casual statement like “I’m sorry, I didn’t see you” can be used against you later as an admission of liability. Stick to the facts of exchanging information and let the evidence speak for itself. If the other driver becomes aggressive or refuses to share their details, stay in your vehicle with the doors locked and wait for the police to arrive.
Step 5: Call the Police and Obtain a Report
Even for minor accidents, calling the police is often a good idea. A police officer will file an official report that includes their observations, a diagram of the scene, and any citations issued. This report is an independent, third-party document that carries significant weight in insurance claims and legal proceedings. When the officer arrives, give them a clear, concise account of what happened, but stick to the facts you are certain about.
Ask the officer for the report number and instructions on how to obtain a copy. In many jurisdictions, you can request the report online within a few days of the accident. Having this official document can prevent disputes over who was at fault, especially if the other driver changes their story later.
Step 6: Write Your Own Detailed Account
While photos and videos capture the visual scene, your personal written account captures what you experienced. As soon as possible after the accident, while the details are still fresh, write down everything you remember. Include the date, time, and location of the crash. Describe the weather, traffic conditions, and the sequence of events leading up to the collision. Note any statements made by the other driver or witnesses. Be as specific as possible: “I was stopped at a red light for approximately 10 seconds when I heard screeching tires behind me and felt a sudden impact from the rear.” This level of detail can help reconstruct the accident later.
Store this written account with your other documentation. If you need to file a lawsuit or negotiate a settlement, your notes can serve as a reference to keep your story consistent. Over time, memories fade and details blur. Your written account acts as an anchor to the truth.
Step 7: Preserve All Physical Evidence
Physical evidence goes beyond photos and documents. If your vehicle has damage, do not repair it until an insurance adjuster has inspected it. If there were any parts that fell off the car, such as a side mirror or bumper, keep them in a safe place. Similarly, save any torn clothing or damaged personal belongings like a phone or glasses. These items can demonstrate the force of the impact and help quantify your property damage claim.
If you seek medical treatment, keep all records of your visits, diagnoses, and bills. Medical documentation creates a direct link between the accident and your injuries. For a deeper look at how to handle this part of the process, refer to our guide on How to Document Accident Injuries Properly, which covers the steps for documenting your physical harm in a way that supports your claim.
Common Mistakes to Avoid When Documenting
Even well-intentioned people make errors in the heat of the moment. One common mistake is failing to take enough photos. A single photo of the cars from one angle does not provide enough context. Another frequent error is relying solely on the other driver’s insurance company to investigate the scene. Remember, the insurance adjuster works for the other party, not for you. They are looking for ways to minimize their payout. Your documentation serves as a check against their version of events.
Additionally, do not post photos or details of the accident on social media. Insurance companies and opposing attorneys often monitor social media for evidence that can be used to undermine your claim. Even a seemingly innocent post about being sore or frustrated can be taken out of context. Keep your documentation private and share it only with your attorney and your insurance company.
How Documentation Supports Your Legal Case
If your accident leads to a legal dispute, your documentation becomes the backbone of your case. Attorneys use photos, videos, witness statements, and police reports to build a narrative that proves liability and demonstrates the extent of your damages. Without these materials, your case relies heavily on your testimony versus the other driver’s testimony, which can turn into a he-said-she-said scenario that is difficult to win.
In cases involving attorney negligence or disputes with legal professionals, thorough documentation is equally critical. If you ever find yourself in a situation where your legal representation has mishandled your case, having a well-documented accident file can provide the evidence needed to pursue a legal malpractice claim. For more information on this topic, you can read about Attorney Selection and how to choose a lawyer who will handle your case responsibly.
Frequently Asked Questions
What if I forgot to take photos at the scene?
If you did not capture photos immediately, you can still gather evidence later. Return to the scene during the same time of day and take photos of the road conditions, traffic signs, and any permanent features. You can also request traffic camera footage from local authorities or surveillance video from nearby businesses. While not as strong as immediate photos, these can still be helpful.
Can I document the scene using only my phone?
Yes, a modern smartphone is sufficient for most documentation needs. It has a high-quality camera, video recording, and voice memo capabilities. Just make sure you have enough storage space and that your phone is charged before you start recording. If your phone is damaged in the accident, ask a witness or passenger to help.
Should I hire a professional accident reconstructionist?
In most cases, your own documentation plus the police report will be enough for insurance claims. However, if the accident involves serious injuries, disputed liability, or complex factors such as multiple vehicles or poor road design, a reconstructionist can provide expert analysis. This is typically something your attorney would arrange if needed.
How long should I keep my accident documentation?
Keep all documentation until your insurance claim is fully resolved and any potential legal claims have passed the statute of limitations. For personal injury claims, this can be one to three years depending on your state. It is safer to keep digital copies indefinitely, stored in a cloud service or on an external hard drive.
Documenting an accident scene thoroughly is not just about protecting your financial interests. It is about preserving the truth. When you take the time to capture evidence, gather witness information, and write down your account, you empower yourself to navigate the claims process with confidence. For more resources on handling the aftermath of an accident, including how to manage disputes with insurance companies or legal professionals, explore our site at Accident Recovery for additional guidance.